A good gallery wall can instantly transform a room. It’s an awesome way to pull together loved pieces of art, and effectively utilize an empty wall, or in my instance, a random corner zone. So how do you create your own gallery wall? Keep reading as Shira Caplan, a fabulous e-designer at Shira Bess Interiors and great friend (who appreciates a good plate of nachos as much as this girl!), shares her with you her very best tips.
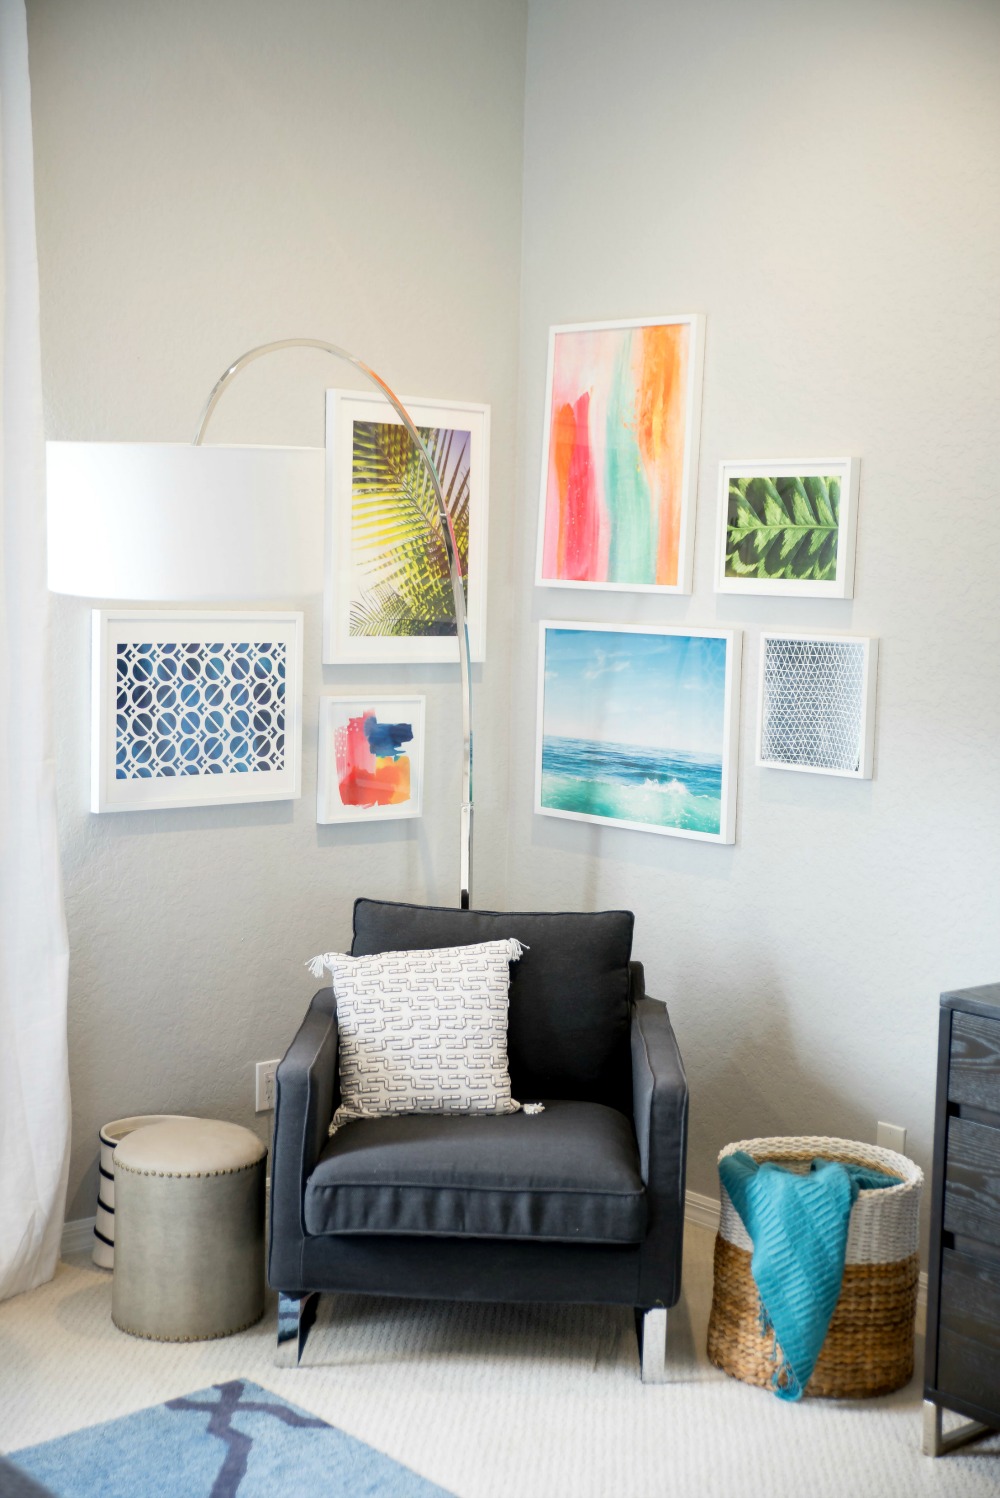
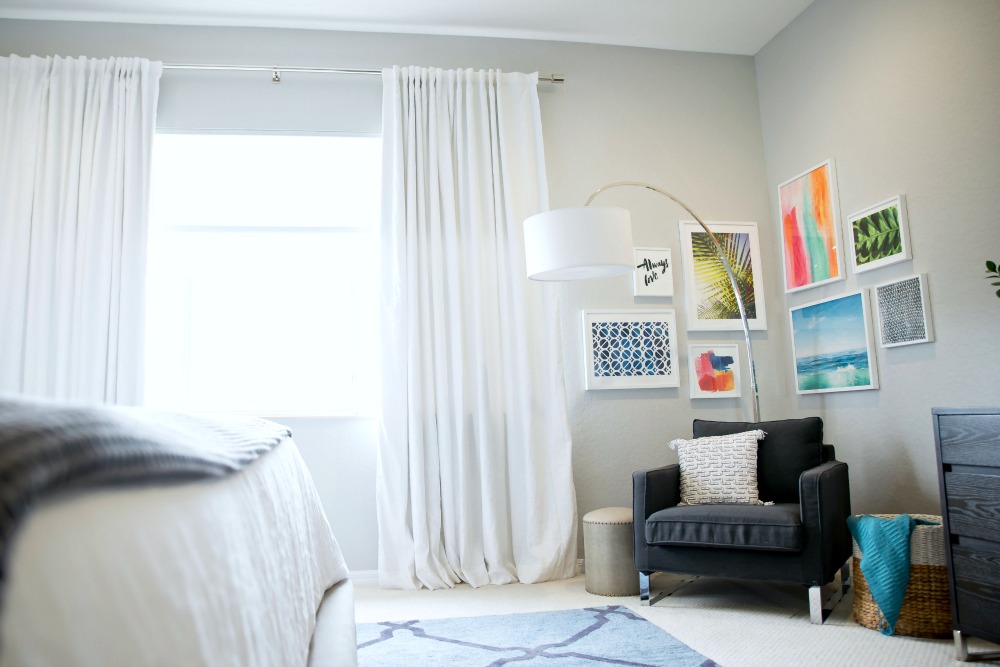
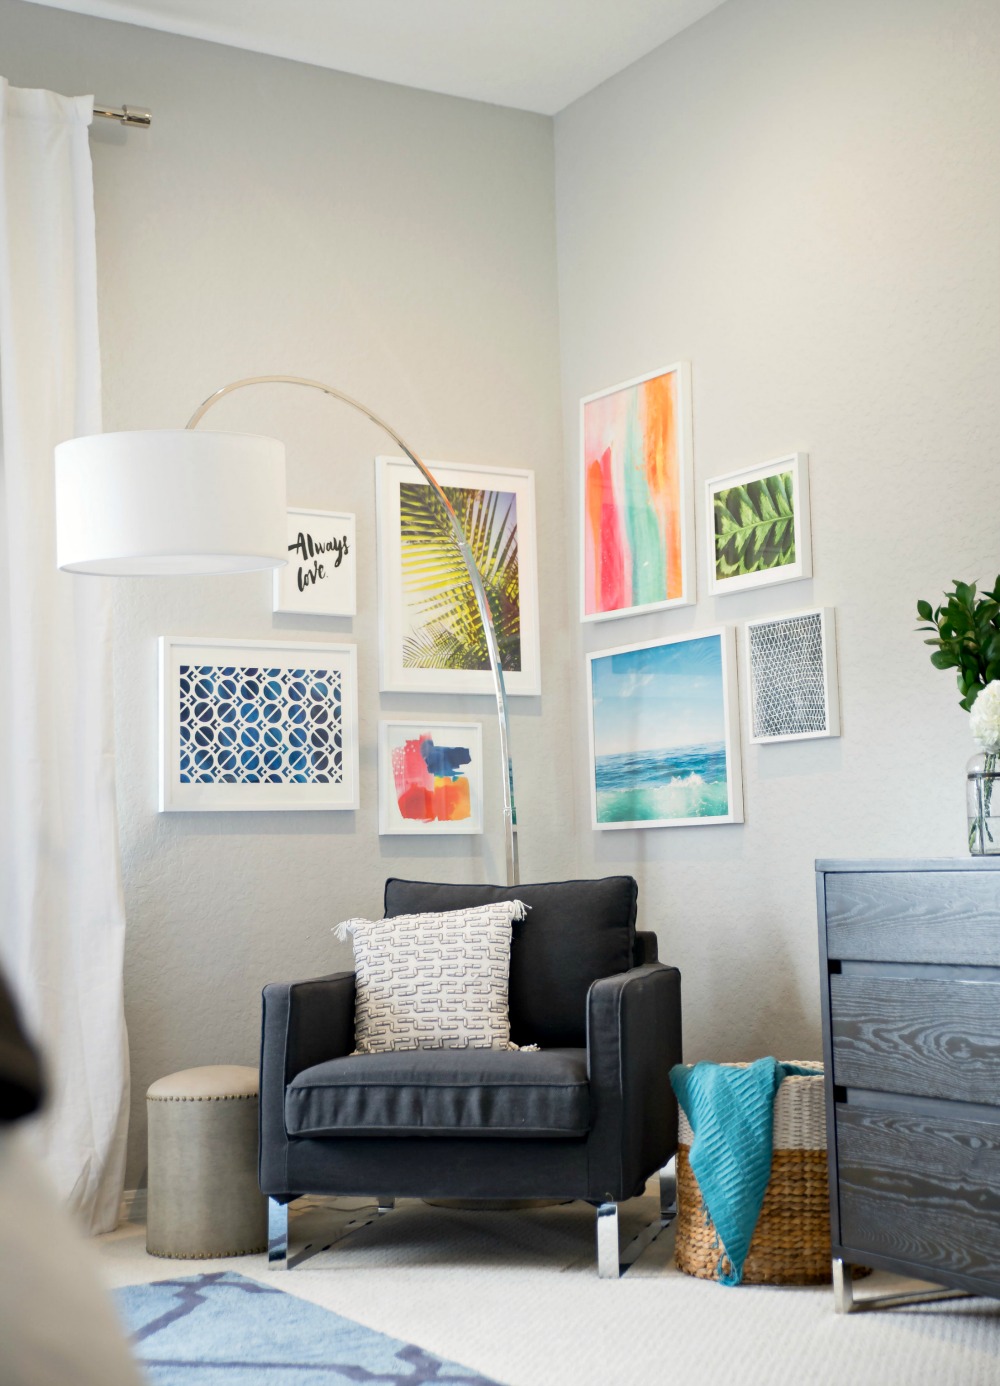
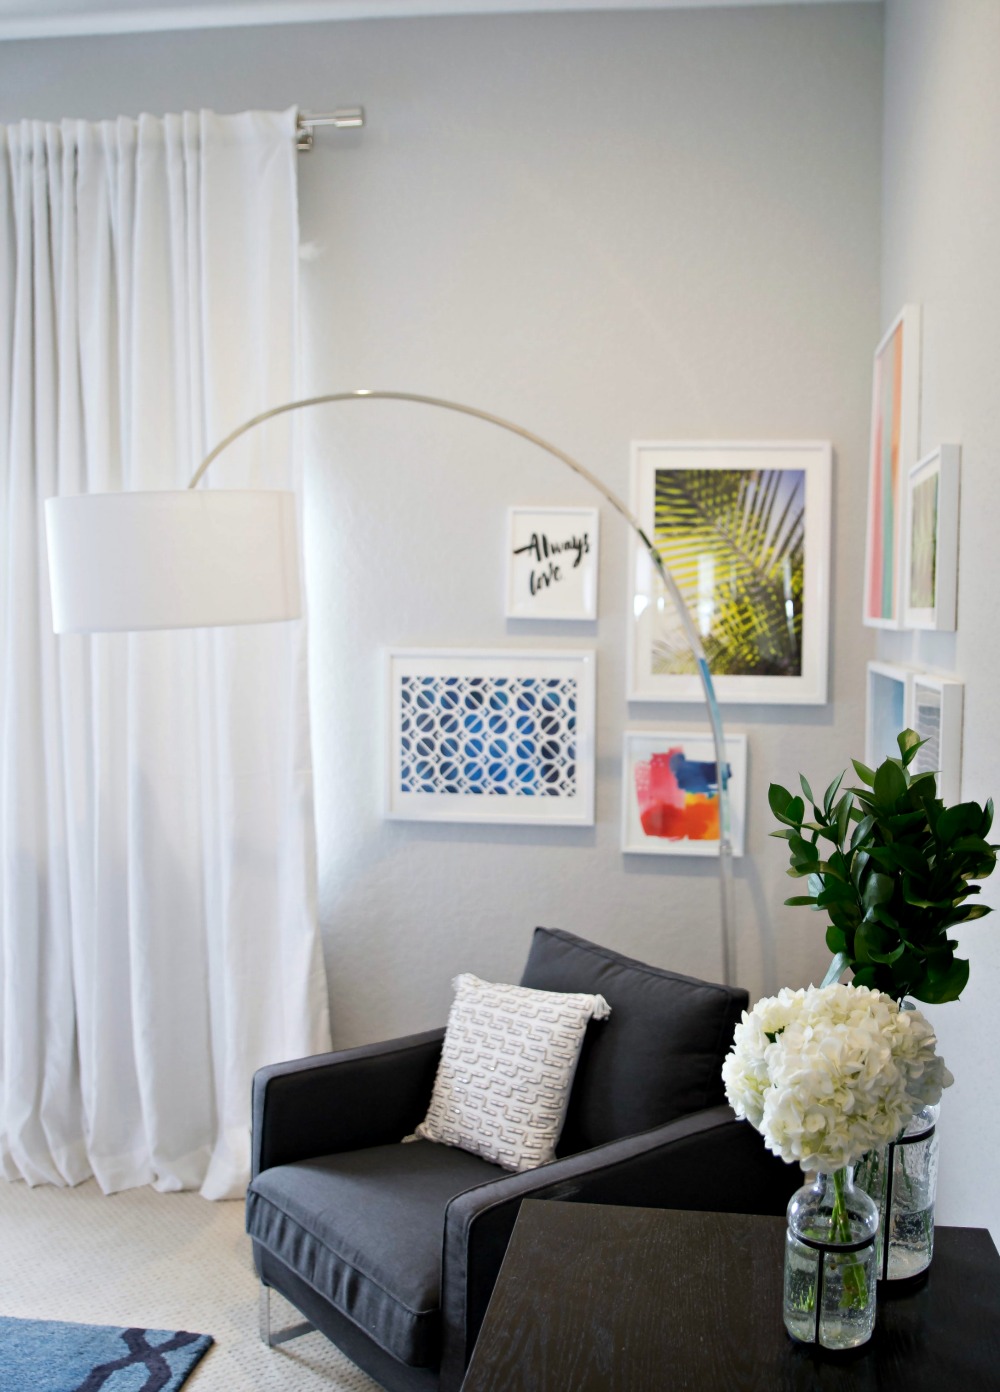
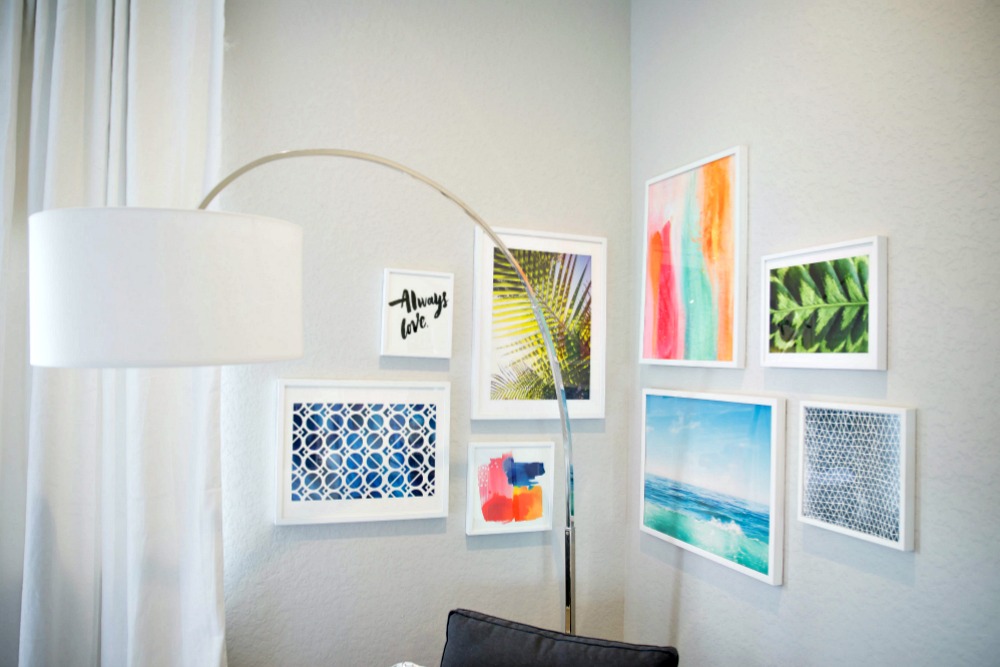
I know her tips work because she recently helped me give our master bedroom a complete refresh, including making this random little corner and a now adorable little reading nook, complete with this serene and contemporary gallery wall with art courtesy of Minted.
I should mention I reached out to Minted for this project because I have purchased art from there before (in addition to holiday cards) and love the quality, product and service so much. Every piece of art comes in a ton of sizes — ideal for a gallery wall — and you can order it framed in any of about a dozen options, or unframed if you prefer to handle on your own. I’ve only had the best experiences, and Shira feels the same. I actually finally got this after seeing it in Shira’s home…. it just makes me so happy (see it here)! I also have the largest size of this hanging in our living room, above our blue couch (seen here).
Here’s how you create a gallery wall
Most importantly: Always pick pieces you love!
Look for a common color palette when selecting your art. Even if most of your framed pieces are neutral and you’re looking to add a pop of color, incorporate 2-3 pieces with that color to even out all of the other neutral pieces. This will make the overall gallery wall look more intentional and cohesive.
Mix it up! Use photography, paintings, and drawings to create a dynamic and unique gallery wall.
Stick with the same, or similar, frame – it unifies the overall look of a big gallery wall.
When choosing what size to start with, go big! Depending on how large you want your gallery wall to be, you can add in 2-3 medium sized pieces, followed by 2-3 smaller sized pieces. Be sure to chose a mix of landscape, portrait, and square sized pieces…..you don’t want to order all landscape, or all portrait (unless you plan to hang a uniform grid-like gallery wall).
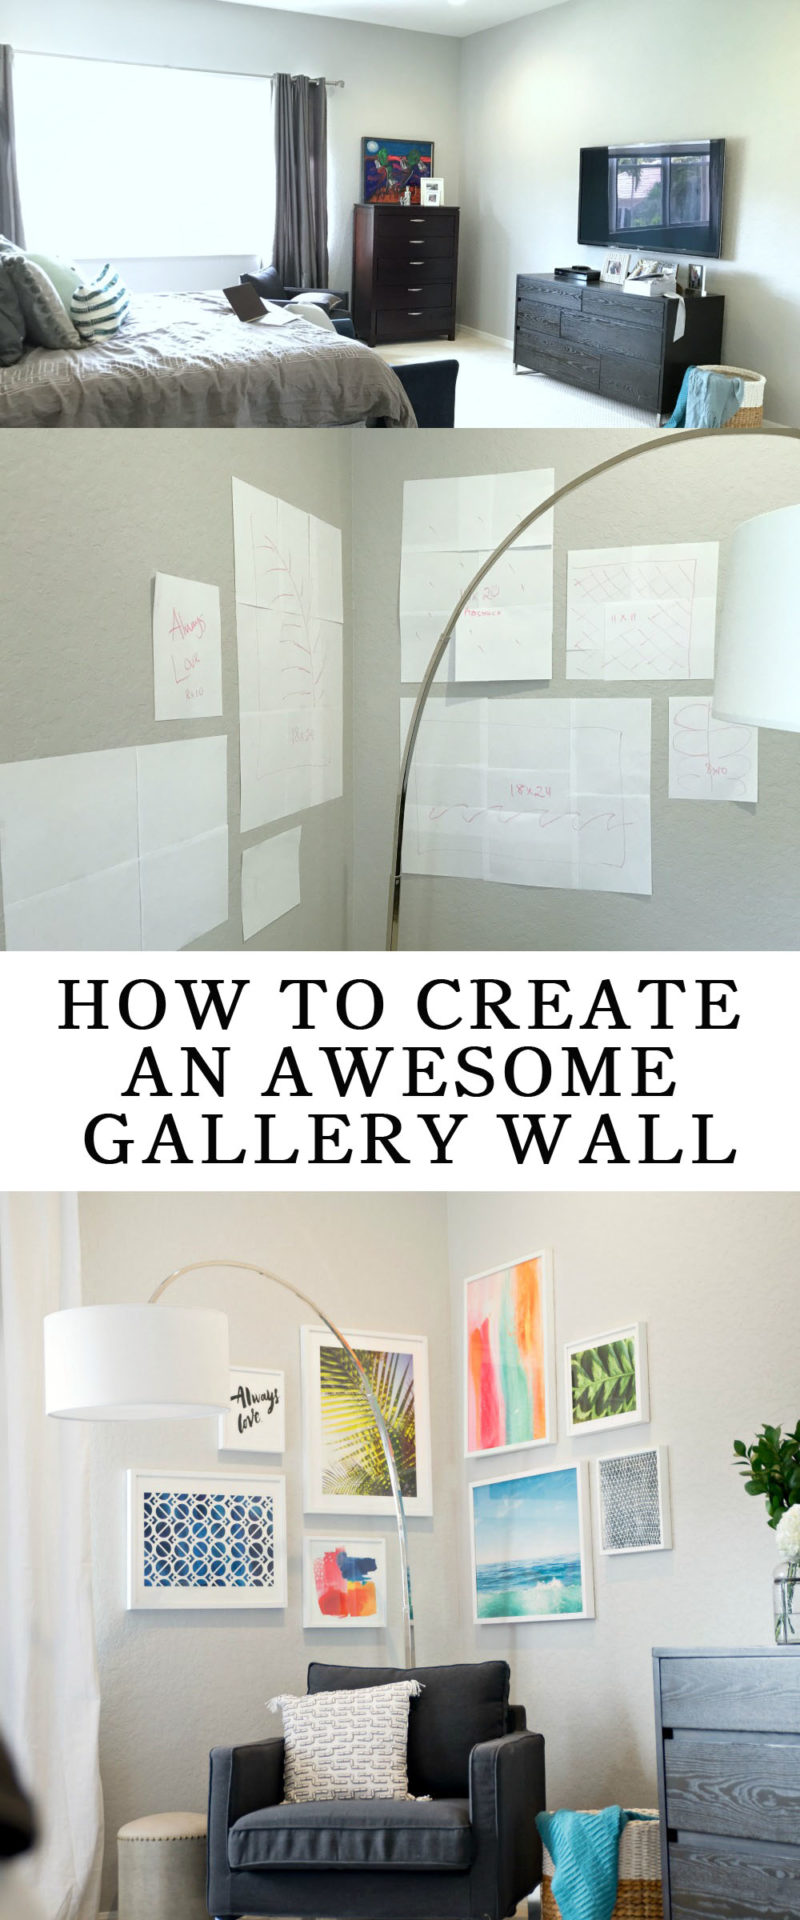
Mock up the gallery wall first (preferably before ordering). Use butcher or wrapping paper to mock up the gallery wall before making any holes in the wall.
Hang the frame that will sit in the middle of the gallery first, and work outward from there.
“What I love most about a gallery wall is that it personalizes a home and becomes a unique representation of those who live there.”
– Shira Caplan of Shira Bess Interiors
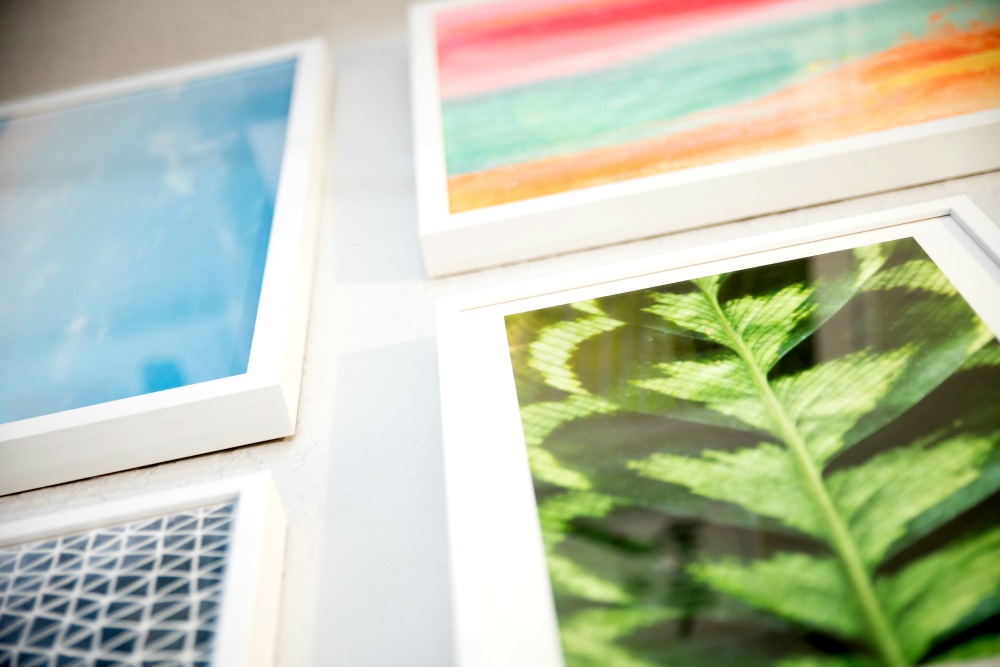
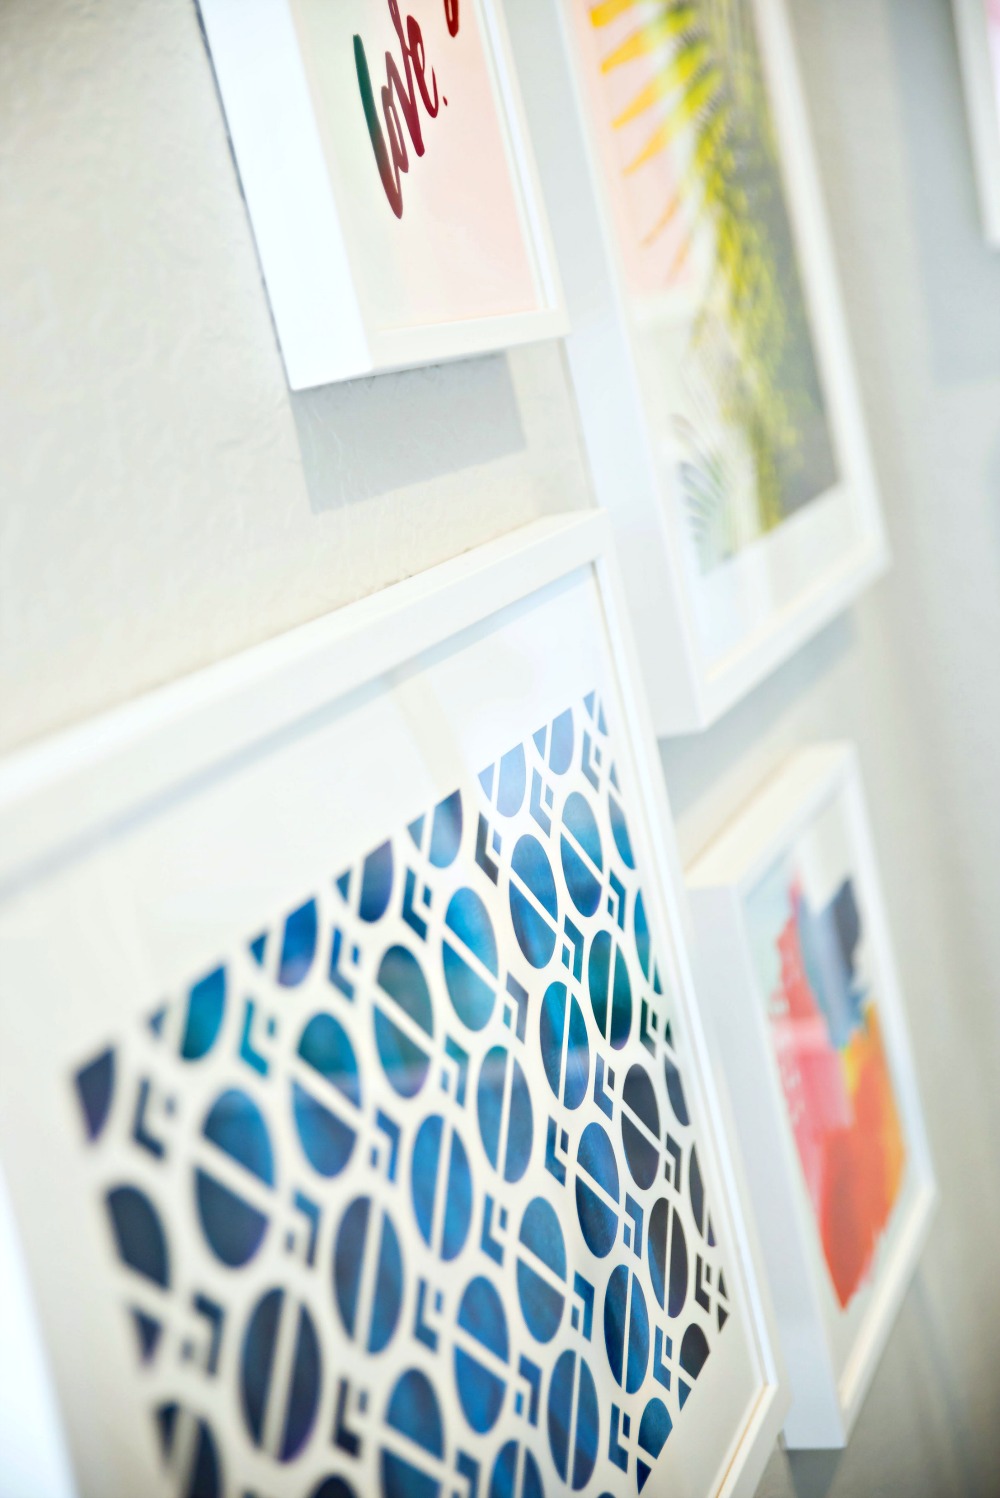
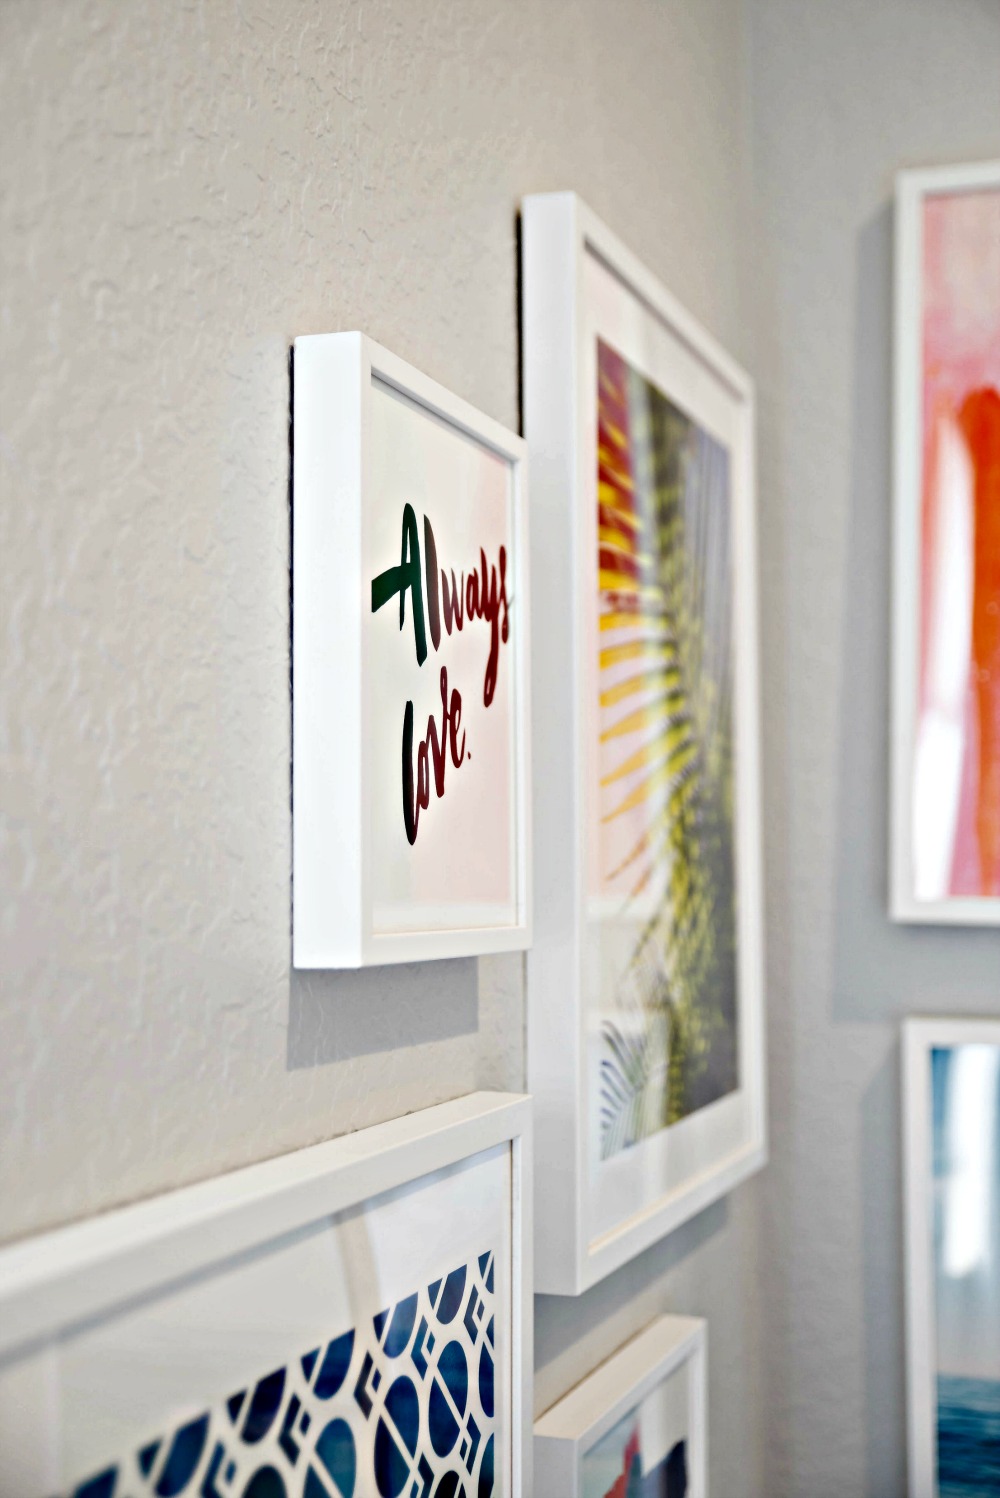
GALLERY WALL
Left wall: Always Love // Palm Tree // Blue Abstract // Multi-color abstract
Right Wall: Abstract stripes // Palm frond // Ocean // Abstract triangles
Additional room details:
West Elm Over-arching floor lamp
Pottery Barn Rug
Pottery Barn White linen curtains and rod
Lulu & Georgia stool
West Elm Basket (older; more baskets here)
West Elm Chair pillow (on sale)
Chair: IKEA
Want to see a glimpse at the before and the process? Check out this image below…. and feel free to save it on Pinterest for future reference!
Thank you to Minted for providing the artwork. All opinions are my own.
Photography: Erica Dunhill




Join the Conversation
Bright & Light Master Bedroom (Before & After) | THE MODERN SAVVY
January 8, 2018 at 4:02 AM[…] I enlisted my friend Shira who owns a fantastic e-design business (remember, she helped me with this gallery wall and gave us all lots of great […]
Jessica
October 15, 2017 at 10:06 AMAmazing job with the gallery wall! It looks so beautiful!
Jessica | notjessfashion.com